
Post Installation
After completing the installation and activation process, there are a few important configuration steps you should review to ensure the system works correctly in production.
Recommended Checklist
- Confirm the installer is locked after finish (security).
- Log in to the admin panel using the admin account created during installation.
- Review global settings (site name, currency, language, mail settings).
- Ensure storage permissions are correct (logs, cache, uploads).
- Set up cron and queue processing (recommended for emails and background jobs).
Email Configuration
To ensure password resets, billing emails, and system notifications work correctly, you must configure your mail settings.
Open the .env file located in the root directory of your project and
update the mail configuration values according to your SMTP provider.
By default, mail settings may be commented or configured for local testing. You should replace them with your real SMTP credentials.
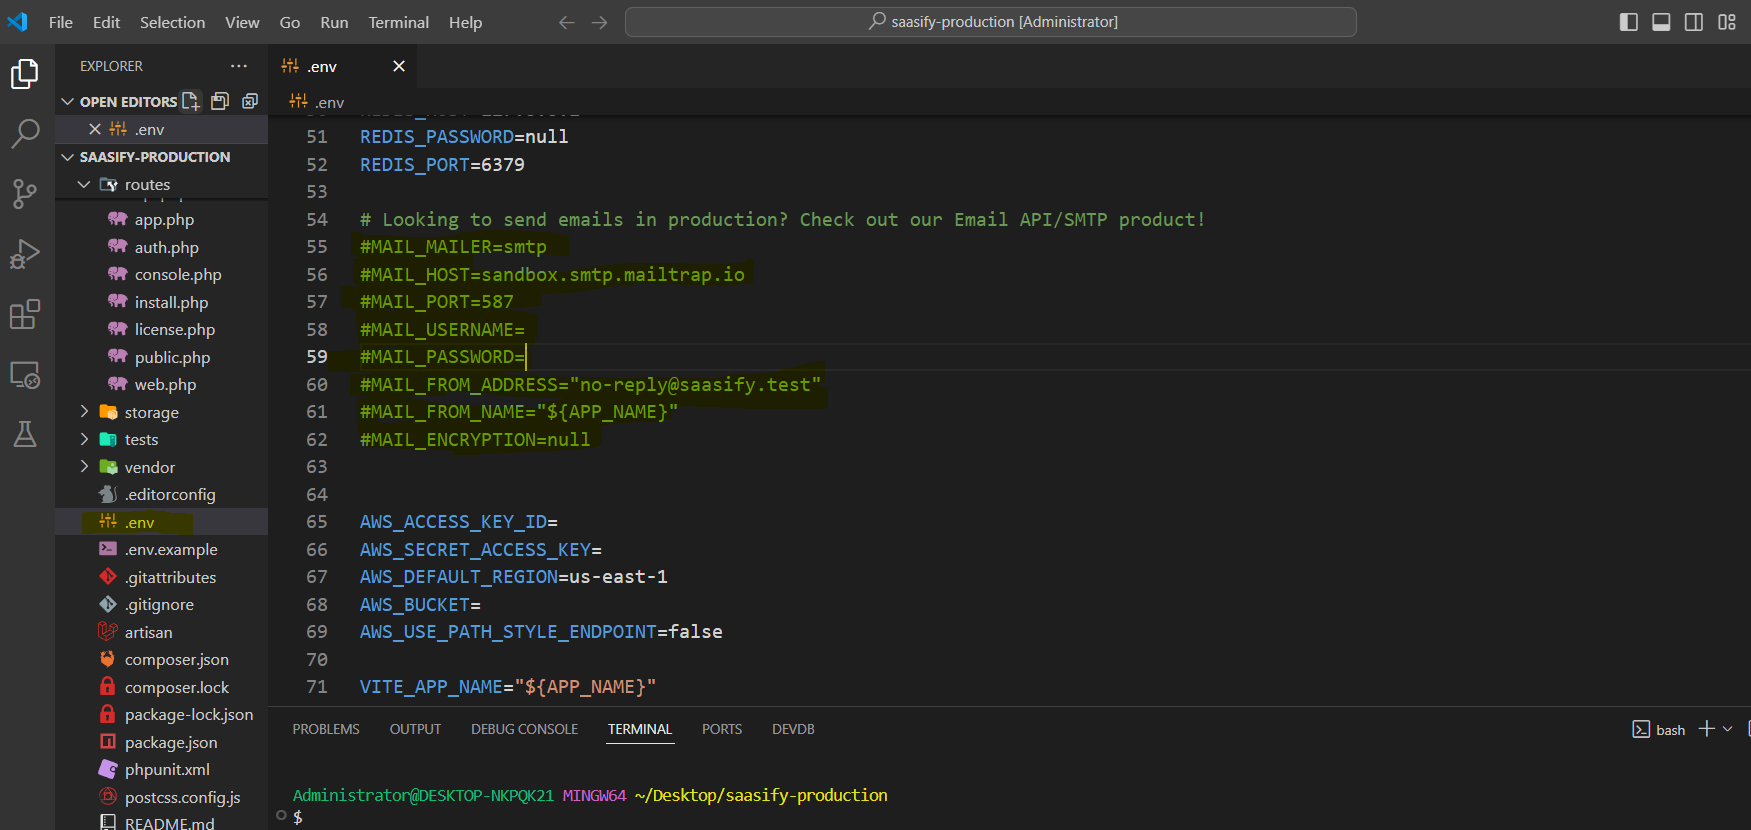
MAIL_MAILER=smtp
MAIL_HOST=your-smtp-host
MAIL_PORT=587
MAIL_USERNAME=your-username
MAIL_PASSWORD=your-password
MAIL_ENCRYPTION=tls
MAIL_FROM_ADDRESS="no-reply@yourdomain.com"
MAIL_FROM_NAME="Paymery"
Example of the mail configuration inside the .env file:
Billing Mode Configuration
Paymery supports two billing modes:
- Stripe (Cashier) – for automated checkout and recurring billing
- Manual Payments – for offline payments (bank transfer) with admin review
If You Use Stripe
If you plan to use Stripe billing via Laravel Cashier, configure Stripe keys and the webhook secret from the admin panel after installation.
- Go to Admin → Settings → Billing
- Set billing mode to Stripe (Cashier)
- Enter Stripe keys and configure the webhook endpoint in Stripe
- Paste the
whsec_...webhook secret into the admin settings - Test checkout flow and webhook delivery
If You Use Manual Payments
Manual billing works without Stripe. Make sure you set your bank/account details in Admin → Settings → Billing so customers can see where to send payments.